
Spice Up Your Glass: The Ultimate Guide to Crafting Homemade Ginger Wine
Are you looking for a unique and flavorful beverage that you can easily craft at home? Look no further than homemade ginger wine. This traditional drink, celebrated for its warming properties and zesty flavor, offers a delightful twist to your craft beverage repertoire. Whether enjoyed on its own or used as a mixer in cocktails, ginger wine is not only delicious but also boasts numerous health benefits. In this comprehensive guide, we will discuss the benefits of ginger, essential ingredients, equipment needed, and a step-by-step recipe for creating your very own batch of this aromatic beverage.
The Benefits of Ginger: Why Drink Ginger Wine?
Before diving into the intricacies of making ginger wine, it’s essential to recognize the remarkable benefits that ginger offers. This powerful root has been a staple in traditional medicine and culinary practices for centuries due to its numerous health-promoting properties.
Digestive Support
One of the most renowned benefits of ginger is its ability to promote healthy digestion. Many individuals turn to ginger wine as a natural remedy for settling the stomach, reducing bloating, and alleviating indigestion. Incorporating ginger into your diet can contribute to overall digestive health.
Nausea Relief
Ginger has long been used to combat nausea related to various conditions, including morning sickness during pregnancy, motion sickness, and chemotherapy-related nausea. Sipping on ginger wine can provide a soothing effect when you need relief from stomach discomfort.
Warming Properties
The natural heat of ginger can create a comforting sensation, making ginger wine a popular drink choice during cold seasons. A small glass can warm both the chest and the stomach, providing comfort during chilly evenings.
Rich in Antioxidants
Fresh ginger is packed with antioxidants, compounds that help protect the body’s cells from damage caused by free radicals. Creating ginger wine is a delectable way to enjoy these health benefits while indulging in a delicious beverage.
Immune System Support
During colder months, many people seek out ways to bolster their immune systems. Ginger wine’s anti-inflammatory properties combined with its high antioxidant content can support your immune health, making it an excellent drink choice during flu and cold seasons.
Choosing Your Ingredients for Homemade Ginger Wine
Creating great-tasting ginger wine starts with the right ingredients. Here’s what you need to make a truly delicious batch.
Fresh Ginger Root
Always opt for fresh, firm ginger root. Avoid any ginger that appears soft, wrinkled, or moldy. The fresher your ginger, the more intense and vibrant the flavor in your final product. This crucial ingredient is the heart of your ginger wine.
Sugar
White granulated sugar is the standard choice for making ginger wine. It provides a clean sweetness that complements the spiciness of ginger. While brown sugar can be used for a darker color and richer, molasses-like flavor, it is essential to note the impact on the overall taste.
Raisins
Ginger lacks natural body and tannins, which is where chopped raisins come in. They provide necessary nutrients for the yeast during fermentation and contribute a thicker, more pleasant mouthfeel to the wine.
Lemons
To balance the sweetness of the sugar, fresh lemon juice is crucial. The acidity from lemons brightens the flavor of the ginger wine and adds a refreshing citrus note.
wine Yeast
It’s vital to use a dedicated white wine yeast or champagne yeast rather than baking yeast. These specialized yeasts are designed for fermentation in high sugar environments, ensuring a superior flavor and fermentation quality.
The Essential Equipment for Brewing Ginger Wine
Sanitation is critical in home brewing; any unintended bacteria can spoil your batch. Have the following equipment ready and sanitized before starting your ginger wine brewing process.
- Large Boiling Pot: A pot capable of holding at least 5 liters of water for boiling your ginger.
- Primary Fermentation Bucket: A large food-grade plastic bucket with a lid for initial fermentation.
- Glass Demijohn (Carboy): A glass jug with a narrow neck used for secondary fermentation.
- Airlock and Bung: A device that allows carbon dioxide to escape during fermentation while preventing outside air or contaminants.
- Siphon Tube: A food-grade plastic hose for transferring the liquid without disturbing sediment.
- Glass Bottles and Corks: For storing your finished ginger wine, flip-top bottles are ideal for easy sealing.
Your Homemade Ginger Wine Recipe
This recipe will yield approximately 4.5 liters (one standard gallon) of delightful ginger wine, perfect for sharing with friends or enjoying on your own.
Ingredients:
- 500 grams (about 1 pound) of fresh ginger root
- 1.5 kilograms (approximately 3.3 pounds) of white granulated sugar
- 250 grams (approximately 9 ounces) of chopped raisins
- 3 large lemons
- 4.5 liters (1 gallon) of water
- 1 packet of white wine yeast
- 1 teaspoon of yeast nutrient (optional, but recommended)
Step 1: Prepare the Base
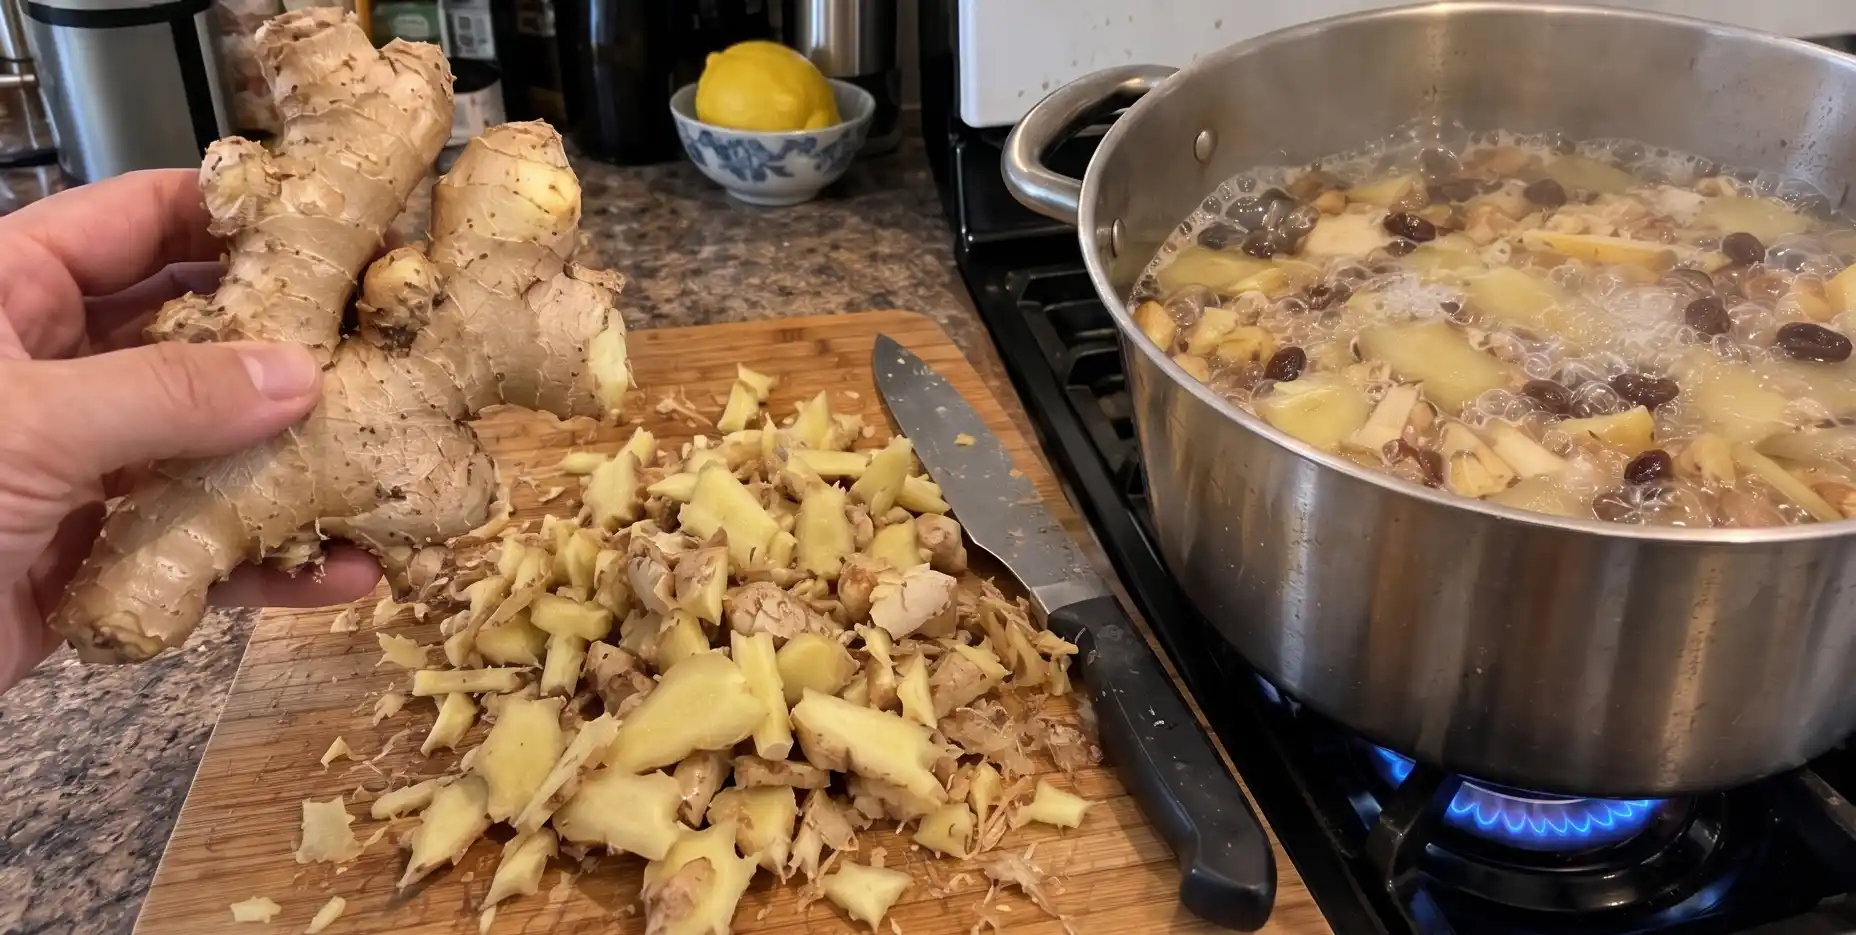
Start by thoroughly washing the ginger root; there is no need to peel it. Simply scrub off any dirt, then chop the ginger into small pieces or crush it with a rolling pin. Additionally, chop the raisins into smaller pieces to enhance exposure for fermentation. Peel the rind from the lemons, careful to leave behind the pith, and juice the lemons, setting the juice aside in the refrigerator.
Step 2: The Boil
In your large pot, add the chopped ginger, lemon rinds, and chopped raisins. Pour in about 3 liters of water. Bring the mixture to a rolling boil, then reduce the heat and let it simmer gently for 30 to 45 minutes. This simmering process extracts the robust flavors and heat from the ginger root.
Step 3: Dissolve the Sugar
After simmering, turn off the heat and gradually add the 1.5 kilograms of sugar into the hot liquid, stirring continuously until all the sugar completely dissolves. This step is essential for achieving the right sweetness in your ginger wine.
Step 4: Cool and Transfer
Carefully pour this hot mixture into your sanitized primary fermentation bucket, including all the solids from the pot. Add the remaining cold water to help bring the temperature down to a suitable level for fermentation.
Step 5: Add Lemon Juice and Yeast
Once cooled to a moderately warm temperature, add the juice of the three lemons and sprinkle in the packet of white wine yeast. If using, incorporate the yeast nutrient at this stage for optimal fermentation. Stir the mixture gently to combine and then seal the bucket with its lid.
Step 6: Primary Fermentation
Place the primary fermentation bucket in a warm, dark location. The fermentation process will begin in about 24 to 48 hours, so you should start to notice bubbling and the formation of a frothy layer on the surface of the liquid. Allow the fermentation to continue for approximately 7 to 10 days, stirring gently every couple of days to ensure that any sediments are mixed back into the liquid.
Step 7: Secondary Fermentation
Once primary fermentation is complete (the bubbling will decrease significantly), prepare to transfer the ginger wine to the glass demijohn for secondary fermentation. Using the siphon tube, carefully transfer the liquid to the demijohn, preserving as much clear liquid as possible and leaving sediment behind in the bucket. Secure the demijohn with an airlock, and return it to a cool, dark spot.
Step 8: Aging
Let the ginger wine undergo secondary fermentation for about 4 to 6 weeks. During this time, it will clarify and age, enhancing its flavor profile. Taste periodically, and once it reaches your desired taste, it’s time for bottling.
Step 9: Bottling
Carefully siphon the ginger wine into sanitized glass bottles, sealing them with corks or flip-top lids. Store the bottles in a cool, dark place to continue aging. Homemade ginger wine can improve in flavor over time, so patience will reward you with an even richer tasting beverage.
Enjoying Your Homemade Ginger Wine
Now that you’ve successfully made your homemade ginger wine, several delightful options await you. Enjoy it as is, serve it chilled, or use